 The second I saw them.. I wanted them! They are gooey and chocolaty! I need to make these! The concept is so classic-S'MORES! Everyone has had one, but not like this. These are baked in the oven so that all the ingredients can come together in one familiar tasting bite. I want to make them for my class and share the love! S'mores are one of my favorite summer treats. In the summer, my family and I go camping or to the beach, and we NEVER forget the S'mores. One of the biggest problems with S'mores for me it that the chocolate never melts well, so I always use Nutela. It works really well, but it doesn't taste the same sat the classic Hershey's chocolate. This recipe solves the problem!
The idea is very simple, it is one layer of cookie, another of chocolate bars, then marshmallow spread and lastly, another cookie layer. Bake it in the oven and enjoy! You can't get any easier! All of the chocolate melts with marshmallow but they stay in the little sandwich shape! The only thing that is missing is the camp fire!
I got this "How To" recipe from http://www.theaprongal.com/2011/11/baked-smores.html.
Ingredients
1/2 cup butter, room temperature
1/4 cup brown sugar
1/2 cup sugar
1 large egg
1 tsp vanilla
1 1/3 cups flour
3/4 cup graham cracker crumbs (approximately 7 full graham crackers)
1 tsp baking powder
1/4 tsp salt
2 or 3 super-sized (5 oz.) chocolate bars (e.g. Hershey’s)
1 1/2 cups marshmallow creme/fluff (not melted marshmallows)
Directions
Preheat oven to 350. Grease bottom of **8 by 8 or 11 by 7.
**Note, I have only made these in an 11 by 7 and a reader who made them in an 8 by 8 said she thought the marshmallow was too thick in that size pan. I personally loved the thinner bar in the 11 by 7, but you can do whichever you prefer, the only difference is adding an additional large Hershey's bar as seen in my pictures above.
In a large bowl or stand mixer, cream together butter and sugar until light. Beat in egg and vanilla.
In a small bowl, whisk together flour, graham cracker crumbs, baking powder and salt.
Add to butter mixture and mix at a low speed until combined.
Divide dough in half and press half of dough into an even layer on the bottom of the prepared pan. Place chocolate bars over dough. Two 5 oz. Hershey’s bars should fit perfectly [for 8 by 8] side by side, but break the chocolate (if necessary) to get it to fit in a single layer. [use 3 Hershey's for 11 by 7 pan]
Spread marshmallow fluff evenly over the chocolate layer.

Place remaining dough in a single layer on top of the creme. This is most easily done by putting the second half of the dough in a gallon size freezer bag. Use your palms or rolling pin to flatten it out, and then use scissors to cut down both long sides of the bag, so it will open up book-style. Open it up carefully, and the dough will stick on one side of the bag. Then place the bag, dough side down, on the other three layers. From there peel the bag up and carefully spread the dough where it is uneven.
Bake for 30 to 35 minutes, until lightly browned. Cool completely or almost completely for the melty factor before cutting into bars.

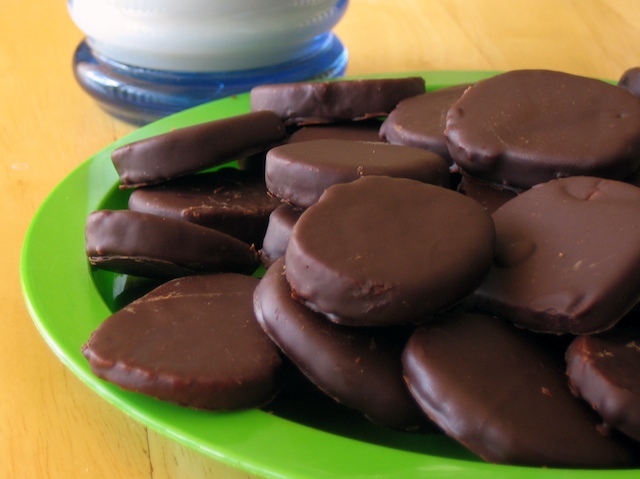
 This recipe is from one of my best friends, Sivan. Every event or party she ever had, There have always been peanut butter balls. This is a little spin on what she normally does. For the chocolate lover in me, the peanut butter ball has been intensified. Sivan usually drizzles most of them with chocolate, but I have taken it one step further and put chocolate inside and also dipped them in melted chocolate.You can really change it up how ever you like. I have also seen M&Ms and Oreos in them. I hope you use your imagination and change them up! Enjoy! ps... they are so easy to make!


![[IMG_3520.jpg]](https://blogger.googleusercontent.com/img/b/R29vZ2xl/AVvXsEgScFhJ6PnGgbgLcEvITLmXP4ushWRcfS5eC7djcT4aZ23q-5xLYR5zt8NO0en8qBZHvFYdl7ixQkMdzGC9km3APPatYJFJvk0LwcuW6forFe1L_x_5hvxfp4FS-Te0CtI1zKfccDyF-L8/s320/IMG_3520.jpg)


